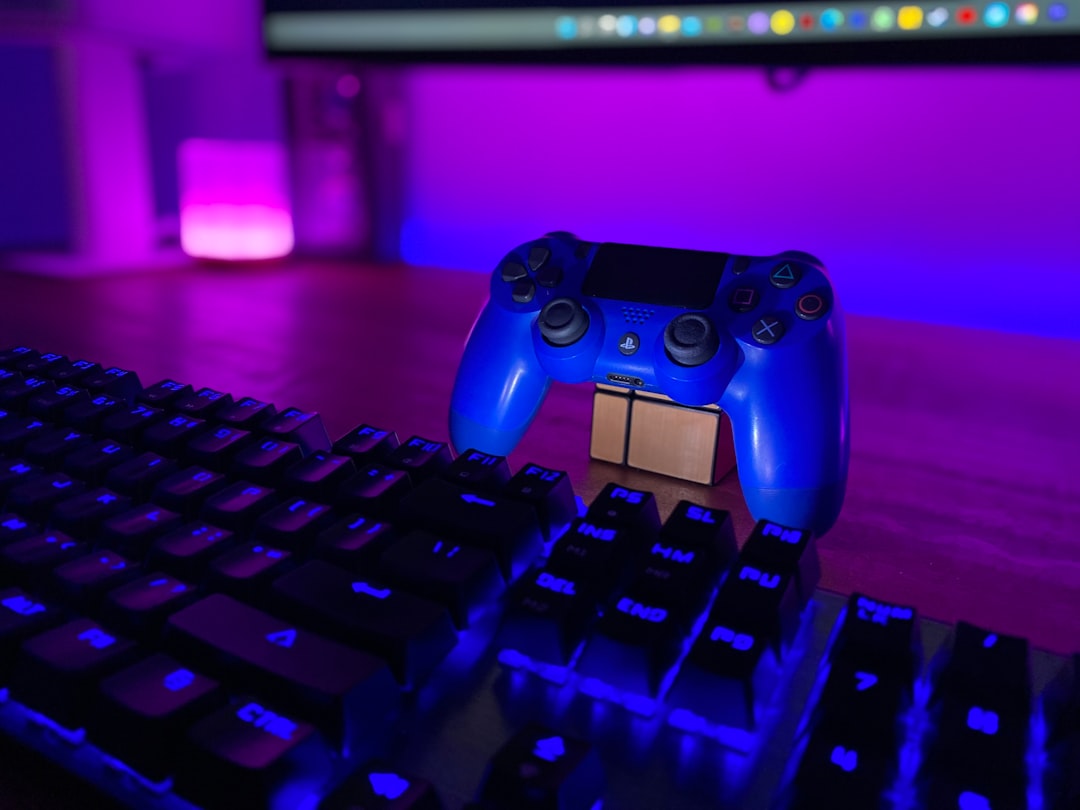
When a character walks without input or a camera slowly turns on its own, use this controller stick drift checklist before buying replacement hardware. It covers diagnosis, cleaning, software checks, platform-specific calibration, and the point at which repair or warranty support makes more sense.
Overview
Stick drift happens when a controller reports movement even though the analog stick is resting. The cause may be dust, residue, a software or calibration problem, wireless interference, a worn stick sensor, or a game setting that makes a small input more noticeable. A controller can also seem to drift when the game has a low deadzone, when motion controls are active, or when another input device is connected.
The safest way to find a stick drift fix is to work from the least invasive checks to the most involved option:
- Confirm that the problem is coming from the controller.
- Test another game or an operating-system input screen.
- Reconnect, update, and reset the controller where appropriate.
- Clean around the affected stick without forcing liquid into the shell.
- Calibrate only with a tool that supports the specific controller.
- Use a temporary deadzone adjustment, repair service, warranty route, or replacement if the fault remains.
Do not open a controller as a first step. Disassembly can damage ribbon cables, clips, or internal components, and it may affect any remaining manufacturer or retailer support. If the controller is under warranty, document the problem and check the official support process before attempting an internal repair.
Checklist by scenario
Start with a controlled test
- Fully charge the controller or install fresh batteries if it uses replaceable cells.
- Disconnect other controllers, keyboard-and-mouse devices, adapters, and accessibility equipment temporarily.
- Try the controller in a second game. If only one game is affected, inspect its deadzone, aim, camera, and motion-control settings.
- Test the other analog stick. Drift on one stick points toward a localized hardware or calibration issue; movement on several inputs may indicate software, connection, or mapping trouble.
- Reconnect by cable if the controller normally uses Bluetooth or a wireless adapter. If the problem disappears over a cable, investigate pairing, firmware, or the wireless connection before assuming mechanical failure.
PlayStation controllers
On PlayStation, begin by closing the game and reconnecting the controller. If available for your model, use the console's controller update option and install system updates through the normal settings menu. A small reset button on many PlayStation controllers can also clear a connection problem; use the correct reset procedure for the model and consult the official manual if you are unsure.
PlayStation consoles and games do not all provide the same system-level stick calibration controls. Check the affected game's controller settings for an adjustable deadzone, but treat this as a workaround rather than proof that the hardware is healthy. On a PC, test the same PlayStation controller through the operating system or a trusted game-input utility. If the input axis moves while the stick is untouched in several games, record a short video and contact the manufacturer or retailer before opening the controller.
Xbox controllers
Use the Xbox Accessories app on Xbox or Windows where supported. Connect the controller directly, check for a firmware update, and review any available test or calibration tools for that controller model. Menus and supported features can vary between first-party and licensed controllers, so do not assume that every model has the same calibration options.
After updating, restart the console or PC and test the controller again. On Windows, also check whether a game launcher or remapping program is applying a second input layer. If the stick still registers movement at rest across multiple games, compare the result with a different controller. A persistent fault is more likely to need service than another software reset.
Nintendo Switch and Joy-Con controllers
On Switch, open the controller settings and use the system's control-stick calibration tool. The path may be labeled under System Settings, Controllers and Sensors, and the option to calibrate control sticks. Follow the on-screen instructions precisely: release the stick when asked, move it through the displayed directions, and save only after the test completes.
Before calibrating, update the console and controllers through the available system options, then test the Joy-Con or Pro Controller separately. Remove the controller from the console if the issue appears only while detached, and test both wireless and attached use when possible. Calibration can correct an input offset in some cases, but it cannot restore a physically worn sensor. If drift returns quickly, check Nintendo's current repair or support guidance for your region instead of repeatedly recalibrating.
PC controllers
On Windows, connect the controller by USB first, then inspect its input through the controller properties or the software supplied by its manufacturer. Steam Input can also change how an analog stick is interpreted. If you use Steam, check the controller layout and calibration screen, then test with Steam Input enabled and disabled where the game allows it. Avoid running multiple remapping programs at the same time.
On other desktop operating systems, use the controller manufacturer's utility or a reputable gamepad tester. Look for an axis that moves while the stick is physically centered. Test with the controller in a second application, because one game's camera behavior is not enough to diagnose hardware drift. Save the controller model, connection method, operating system, and test result if you need support.
Cleaning and physical checks
Power off the controller and disconnect its cable. Inspect the gap around the drifting stick under a bright light. Hold the controller so loose debris can fall away, then use short bursts of air from a safe distance if needed. A small amount of electronics-safe isopropyl alcohol on a cotton swab around the outer edge may help remove surface residue, but do not pour or spray liquid into the controller. Let the area dry fully before reconnecting it.
Move the stick slowly through its full range several times after cleaning and retest it. Do not force the stick past its normal travel, scrape around the mechanism with a sharp object, or use household cleaners, oils, or lubricants. These actions can push contamination farther inside or damage plastic and electrical contacts.
Choose the next step
| Result | Likely next step | What to expect |
|---|---|---|
| Drift appears in one game only | Check that game's deadzone and input settings | Often a configuration issue or temporary workaround |
| Drift disappears after reconnecting or updating | Keep the firmware current and retest periodically | May have been a connection or software problem |
| Cleaning helps briefly | Check warranty or repair options | Residue or wear may remain inside the stick module |
| Drift is present across games and test tools | Seek manufacturer support, professional repair, or replacement | Consistent hardware failure is likely |
| Only a high deadzone hides the issue | Use it temporarily while planning service | It may reduce precision and will not repair the sensor |
What to double-check
- Model compatibility: Calibration tools differ between Joy-Con, Pro Controller, DualSense, DualShock, Xbox, licensed, and third-party gamepads. Confirm the exact model before following a repair guide.
- Input mapping: Steam Input, console accessibility settings, emulator profiles, and manufacturer software can remap or duplicate an axis.
- Deadzone settings: A larger deadzone may hide mild drift, but it can make aiming or movement feel less responsive. Change one setting at a time and note the original value.
- Connection mode: Compare USB, console-attached, Bluetooth, and wireless-adapter behavior. A change between modes is useful diagnostic evidence.
- Support terms: Warranty duration, repair availability, proof-of-purchase requirements, and regional processes can change. Use the manufacturer's current support page rather than relying on an old forum post.
- Physical safety: Disconnect power before cleaning, keep liquid away from openings, and stop if a battery, shell, or cable appears damaged.
Common mistakes
The most common mistake is treating every unwanted movement as mechanical drift. A camera can turn because of a motion-control setting, a duplicated input, or a game-specific deadzone. Test outside the original game before buying parts.
Another mistake is repeatedly recalibrating a worn stick. Calibration changes how software interprets the signal; it cannot repair a damaged sensor. Similarly, increasing the deadzone may make the controller usable for a while, but it can reduce fine control and leave the underlying fault unchanged.
Avoid spraying cleaner directly into the stick, flooding the opening with alcohol, or blowing debris deeper into the shell. Do not follow a teardown video for a different controller revision without checking the model number. Finally, do not discard a controller before comparing the cost and risk of a supported repair with a replacement, especially if the fault is covered by a current warranty or service program.
When to revisit
Return to this checklist whenever drift reappears, after a controller or console firmware update, when switching between console and PC, or before changing a game's deadzone settings. Recheck the exact controller model because menus and calibration support can change with hardware revisions and software updates.
For a practical final pass, write down the controller model, platform, connection method, affected stick, games tested, and whether cleaning or calibration changed the result. Test once more with a second game and, if possible, a second controller. If the original controller still moves on its own everywhere, stop treating it as a settings problem: check current manufacturer support, obtain a repair estimate, or replace it. If you do replace it, compare controller features such as adjustable deadzones, replaceable stick modules, and Hall effect sensors rather than choosing on appearance alone. Our guide to the best gaming controllers for PC can help frame that comparison, while our guide to reading patch notes is useful when a game update may have changed input behavior.